 English






| Quantity: | |
|---|---|


Product Introduction
Product Overview
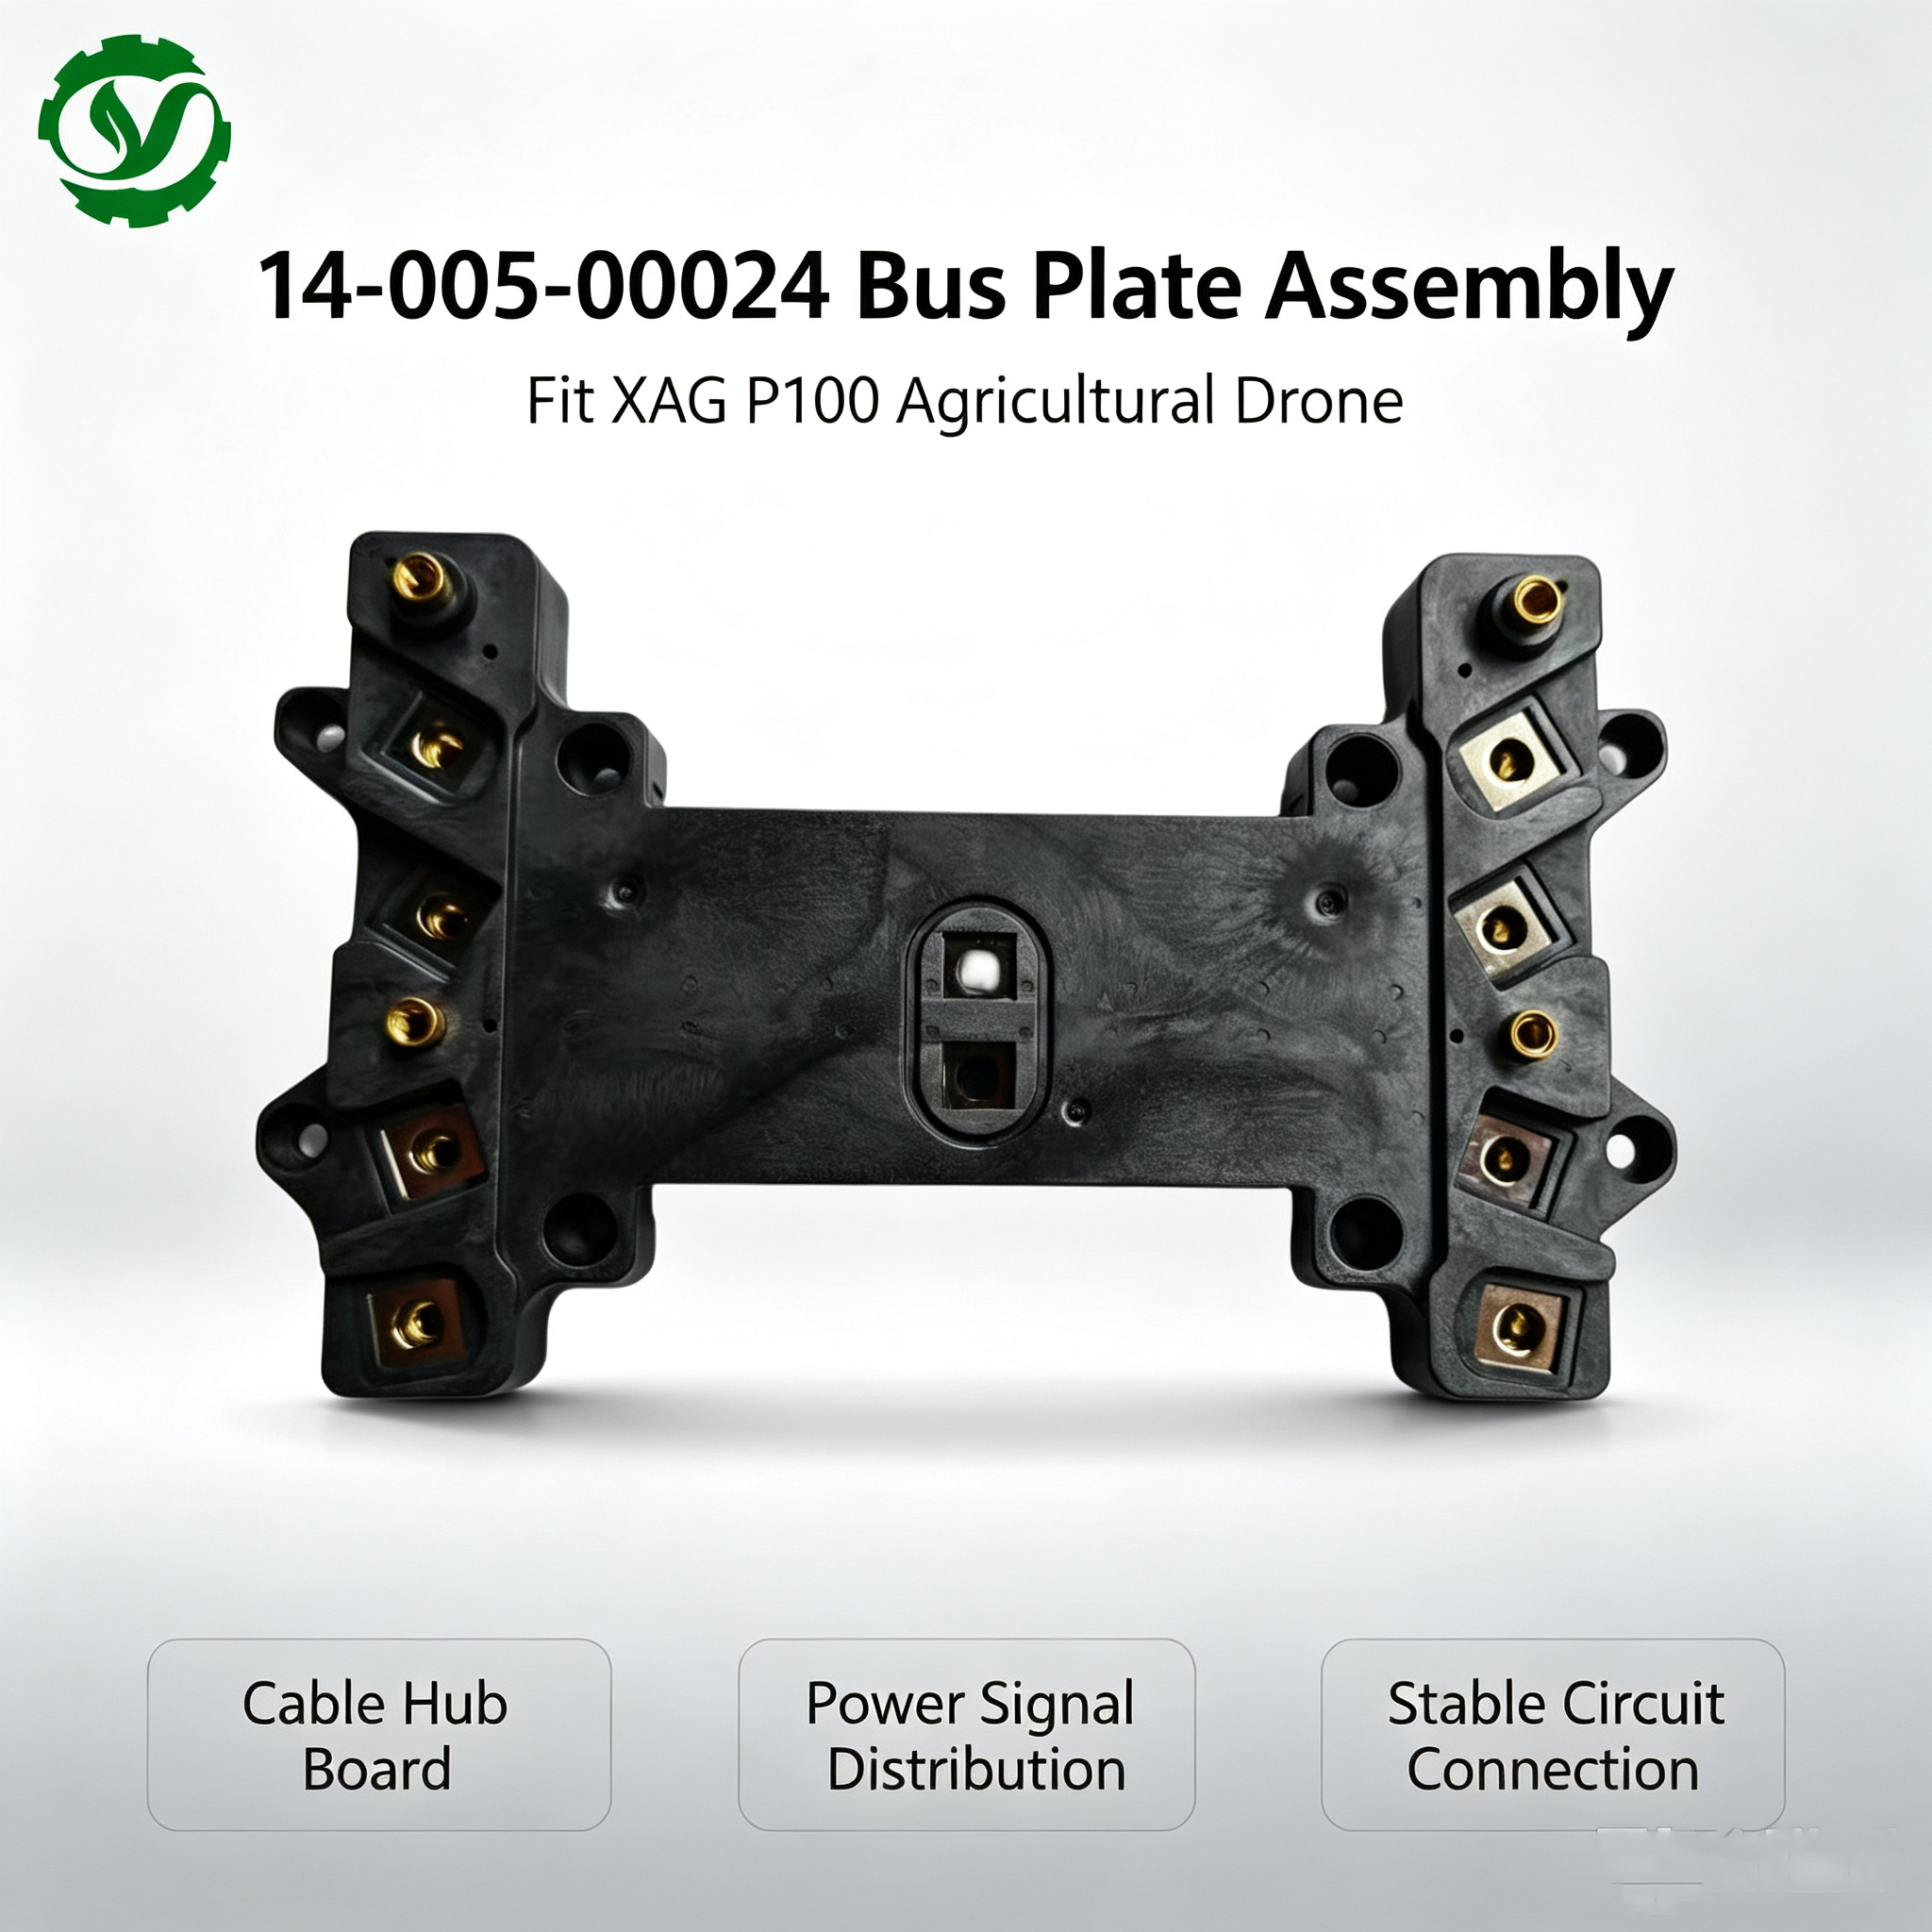
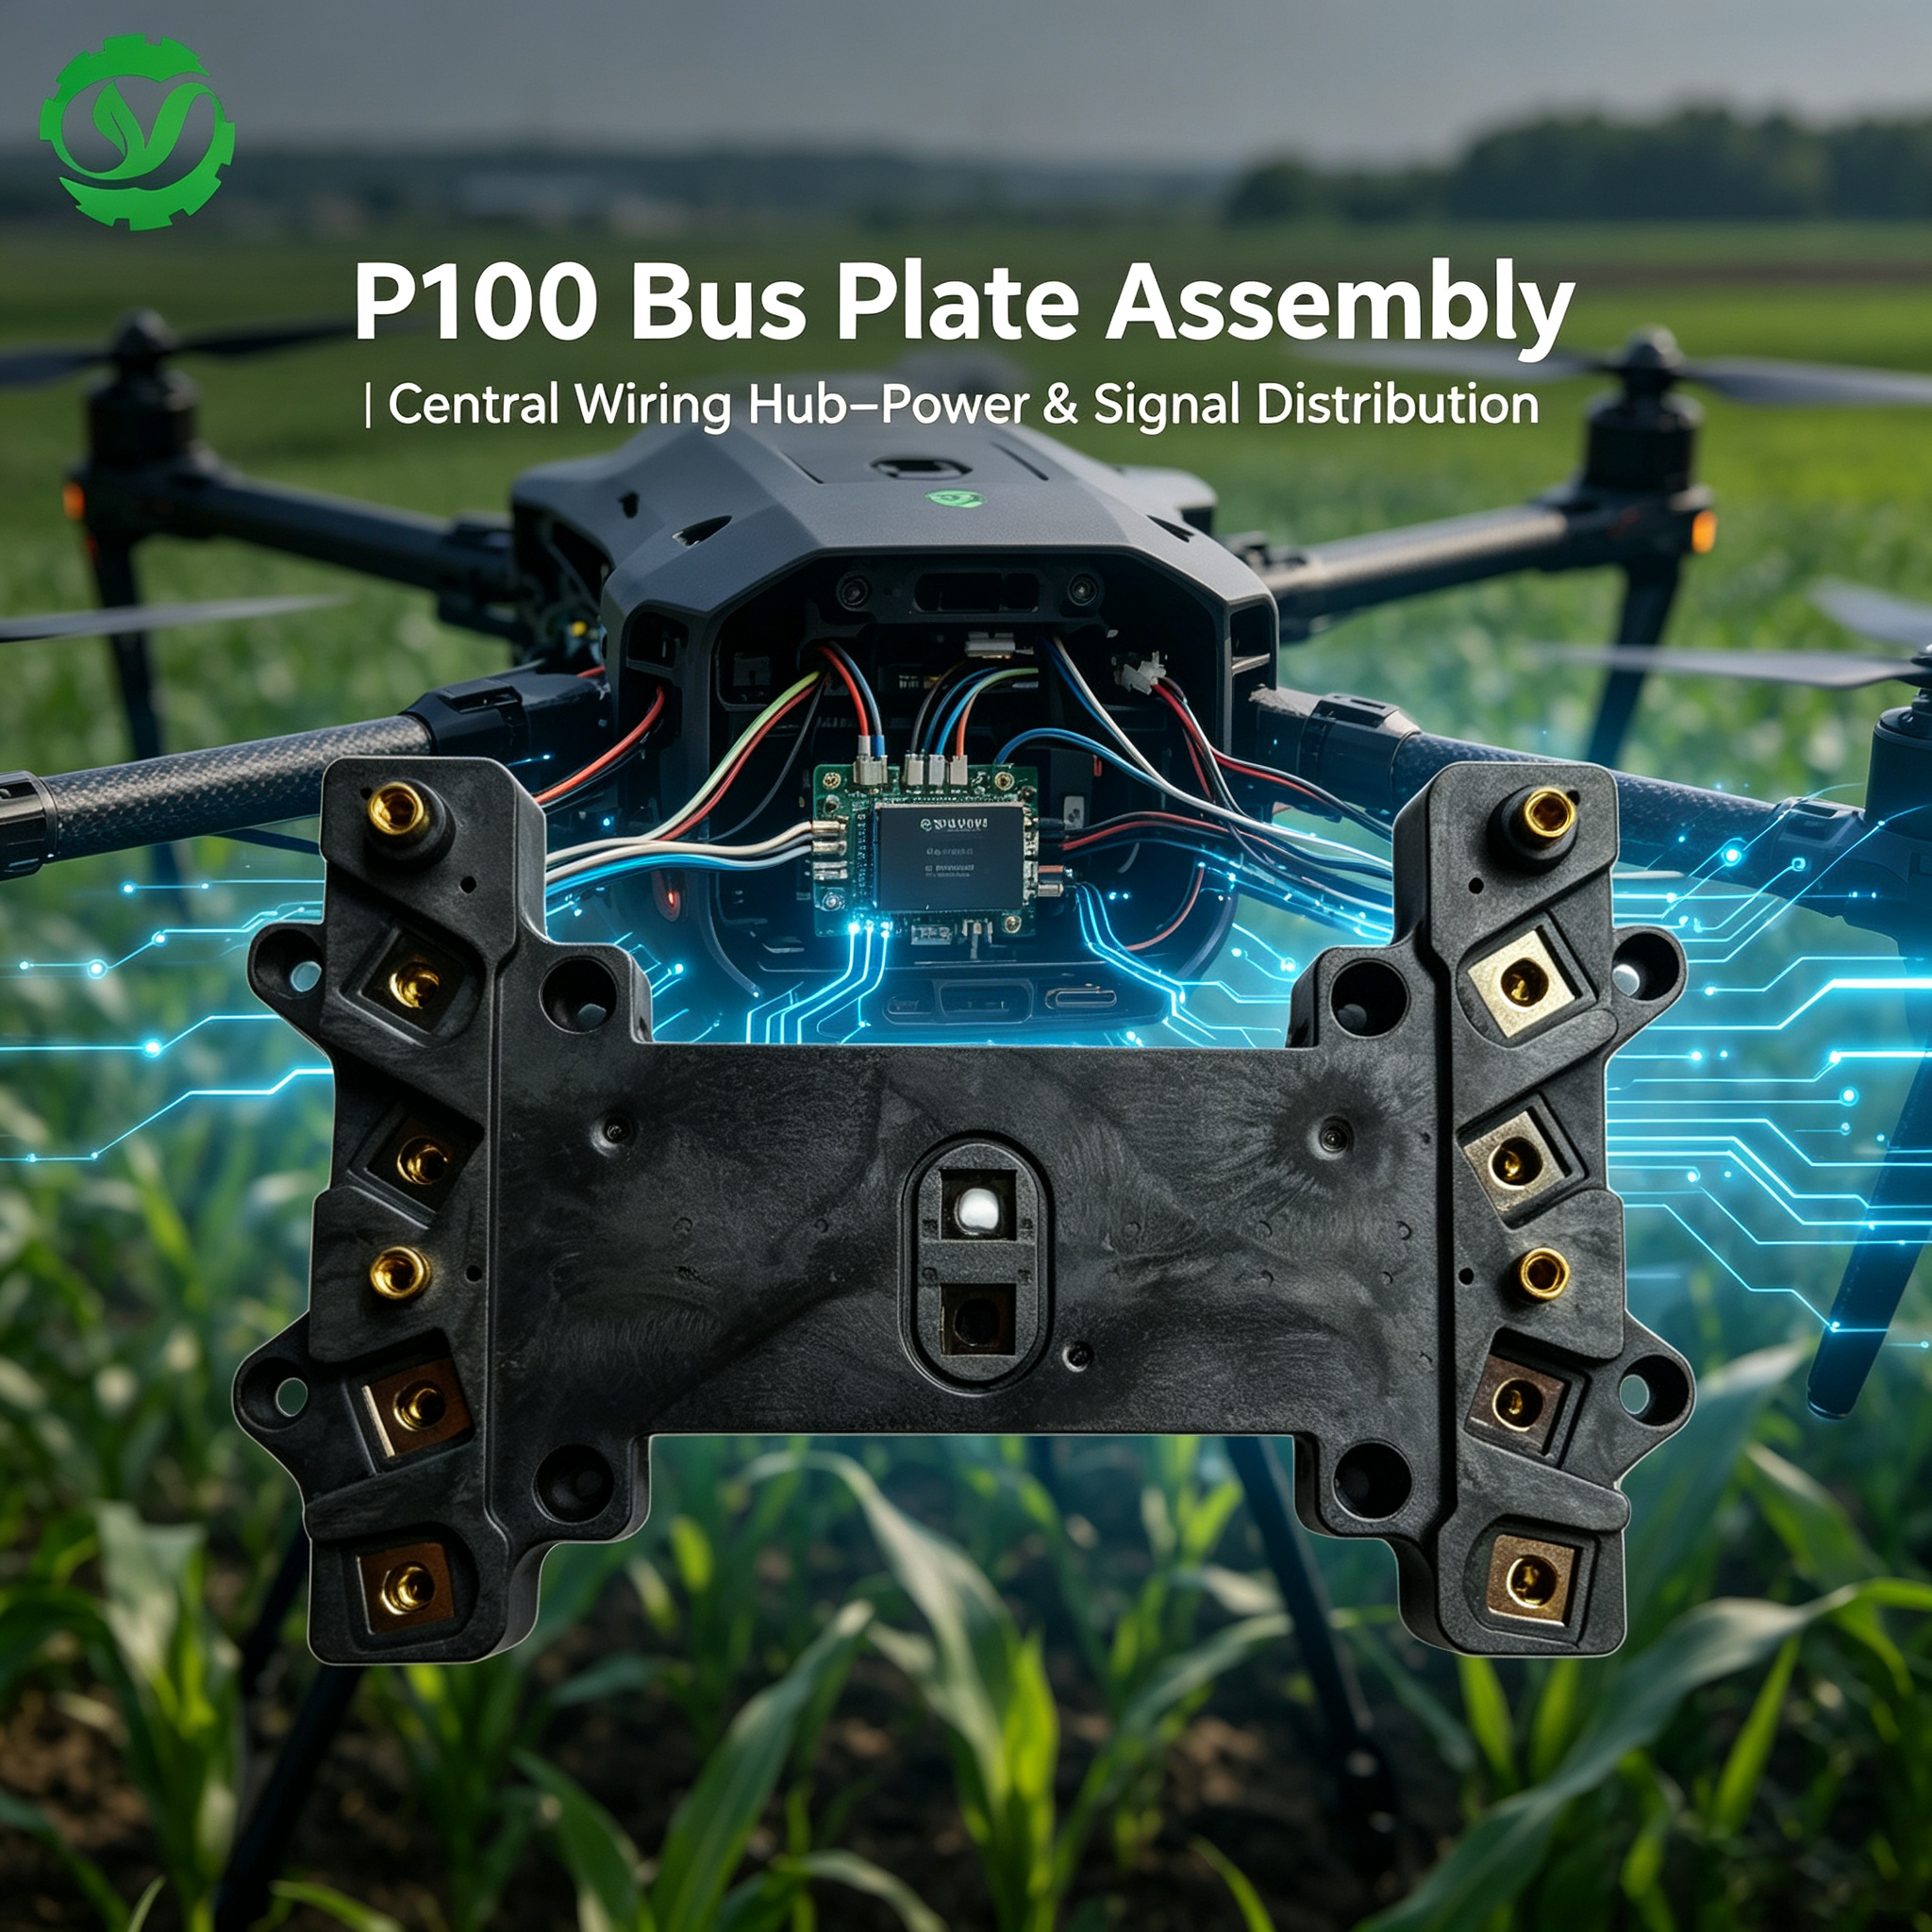
Part Number 14‑005‑00024, central power busbar assembly specially for XAG P100 agricultural drone. This core power distribution component concentrates and distributes main‑battery power to each motor module. Effectively resolve power board burning, short‑circuit, aging, water‑in corrosion and connection burn‑out issues. OEM‑level replacement part, direct swap, restore stable power output for P100 plant‑protection drone.
Technical Parameters
Part Number:14‑005‑00024
Product Name:Central Power Busbar Assembly(with sealing parts)
Compatible Model:XAG P100 Agricultural Drone
Function:Central power distribution, current transmission for multi‑motor
Feature:High‑current bearing, anti‑corrosion, integrated sealing structure
Application:Drone power system repair & maintenance
Installation:Central fuselage position, no modification required
Product Uses
Usage Scenarios
Replace damaged busbar assembly caused by water ingress, damp corrosion during farm spraying operations
Repair faults of overheating, burnout, short‑circuit and poor power contact on XAG P100 drone
On‑site maintenance for drone service teams and repair workshops
Spare‑part inventory preparation before peak spraying and fertilizing seasons
Overhaul and repair work for farm‑owned XAG P100 plant‑protection drones
FAQ
Q1: How do I confirm this part fits my drone?
A: Match part number 14‑005‑00024, it is dedicated for XAG P100 drone. Please double‑check original spare‑part number before purchase.
Q2: Can I install without modification?
A: Yes. Original hole positions, connectors and sealing accessories match perfectly, direct replacement without cutting or adaption.
Q3: What faults can this busbar assembly fix?
A: Solve issues caused by water ingress, aging and overload: power board burnout, poor power contact, abnormal heating, random motor power loss, short‑circuit alarm.
Q4: Is professional repair required?
A: This is high‑current power component. If you lack drone maintenance experience, recommend seeking qualified drone service technicians for installation to prevent improper wiring causing further damage.
Q5: What to check after installation?
A: Verify all connectors are firmly inserted. Observe temperature rise during static test. If any over‑heating or smoke occurs, cut power off at once and re‑inspect connections. Complete trial flight before field operation.
Product Operate Guide
⚠️ High‑voltage power component, strictly follow safety steps.
Cut power completely: Remove drone battery, wait several minutes for circuit discharge to avoid electric shock and short‑circuit risk.
Dismantle relevant upper‑shell covers, label each power plug and connector for correct reassembly.
Disconnect all power cables connected to old busbar assembly, remove fixing screws, take out the damaged unit.
Fit new 14‑005‑00024 busbar assembly into original position, lock mounting screws evenly.
Reconnect each power connector according to marks, confirm all plugs are fully seated, check sealing components are correctly installed.
Visual inspection: No loose terminals, no metal debris inside cabin, no wire squeezing.
Static power‑on test: Check no abnormal heating or sparking. Complete low‑altitude trial flight before formal farm spraying work.
Tips: Do not over‑torque screws; keep internal cabin dry and clean during assembly.
Product Video


